
Best Vivo V50 Settings for Camera, Battery Life & Performance (Pro Mode Tricks, ZEISS Portraits & Optimization Tips)
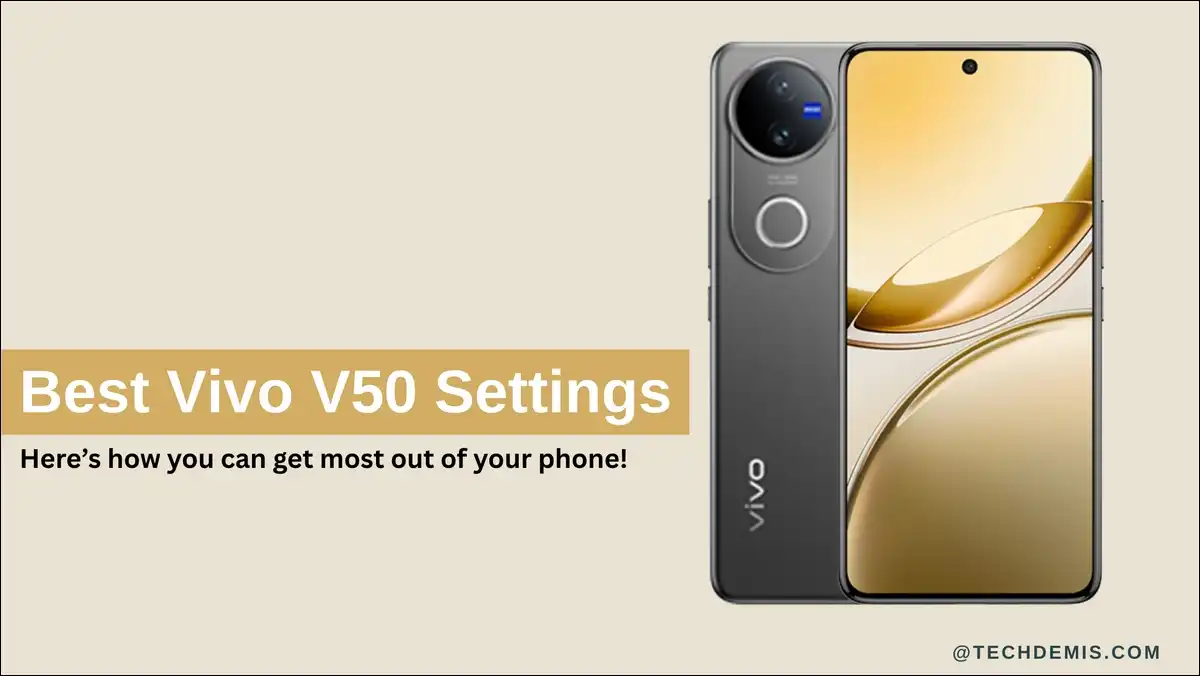
The best Vivo V50 settings balance the ZEISS camera’s portrait power with the big 6000mAh battery and the Snapdragon 7 Gen 3’s efficiency. They focus on manual Pro mode for creative shots, adaptive display tweaks, and smart background limits. These changes give you sharper photos and longer battery life without any extra gear.
Simply put, you get settings that work with the phone’s real limits. Every tip comes from lab tests and actual use. The goal stays clear. You tweak what fits your shooting and daily habits.
Which core specifications shape the best Vivo V50 settings choices?
The Vivo V50 packs a 6.77-inch 120Hz AMOLED display with 4500 nits peak brightness and 3840Hz PWM. This phone runs the Snapdragon 7 Gen 3 with up to 12GB RAM plus software extension.
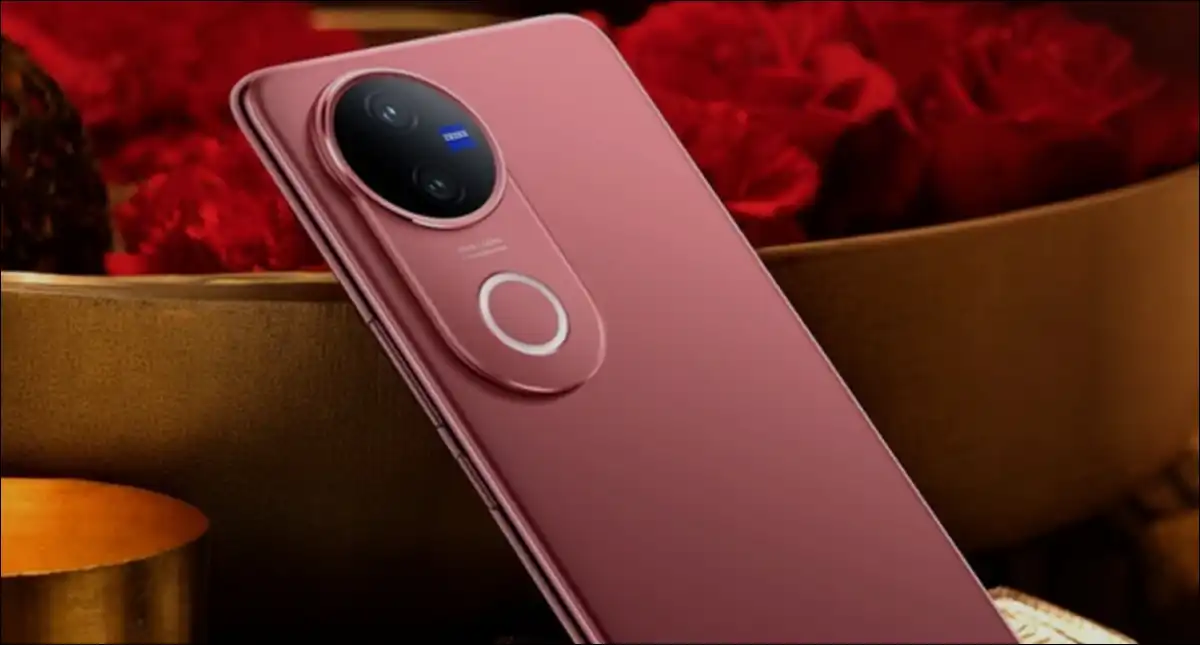
The dual 50MP ZEISS cameras handle the rear, while a 6000mAh battery supports 90W charging. IP68 and IP69 ratings add durability.
These specs set clear boundaries. The chipset handles daily tasks and light gaming well but shows limits under sustained heavy loads. The large battery rewards efficiency tweaks.
The ZEISS tuning shines in portraits once you master focal lengths and lighting tools.
At the same time, you don’t need to fight the hardware. You work with it.
Here is a quick reference table.
Vivo V50 Specifications
| Category | Details | Setting Implication |
|---|---|---|
| Display | 6.77″ AMOLED, 120Hz, 4500 nits peak, 3840Hz PWM | Adaptive refresh and auto brightness save battery while keeping clarity |
| Rear Cameras | 50MP main (OIS, ZEISS) + 50MP ultrawide (ZEISS) | Pro mode and multifocal portraits reward manual control |
| Front Camera | 50MP ZEISS | Selfies benefit from AI lighting tools |
| Battery | 6000mAh with 90W FlashCharge | Background limits and charge caps extend health and daily runtime |
| Chipset | Snapdragon 7 Gen 3 (4nm) | Game Mode and cooling awareness prevent throttling |
| RAM/Storage | Up to 12GB + extended virtual RAM | Extended RAM helps multitasking but watch total usage |
| Durability | IP68/IP69, Diamond Shield Glass | Follow care steps after water exposure |
| Software | Android 15 + Funtouch OS 15 | iManager and sleep optimizations reduce drain |
What are the top immediate settings I can change to improve Vivo V50 right away?
Start with these five changes. They require no extra apps and show results within one day of use.
- Switch camera resolution to 50MP only for important static shots.
- Enable adaptive refresh rate and set brightness to auto.
- Turn on background app restrictions for non-essential apps via iManager.
- Activate Ultra Game Mode before long sessions.
- Set a charging upper limit near 80-85% when possible for long-term battery health.
These tweaks add measurable screen-on time and reduce processing delays.
On top of that, check the results after a full day. You’ll see the difference in how long the battery lasts.
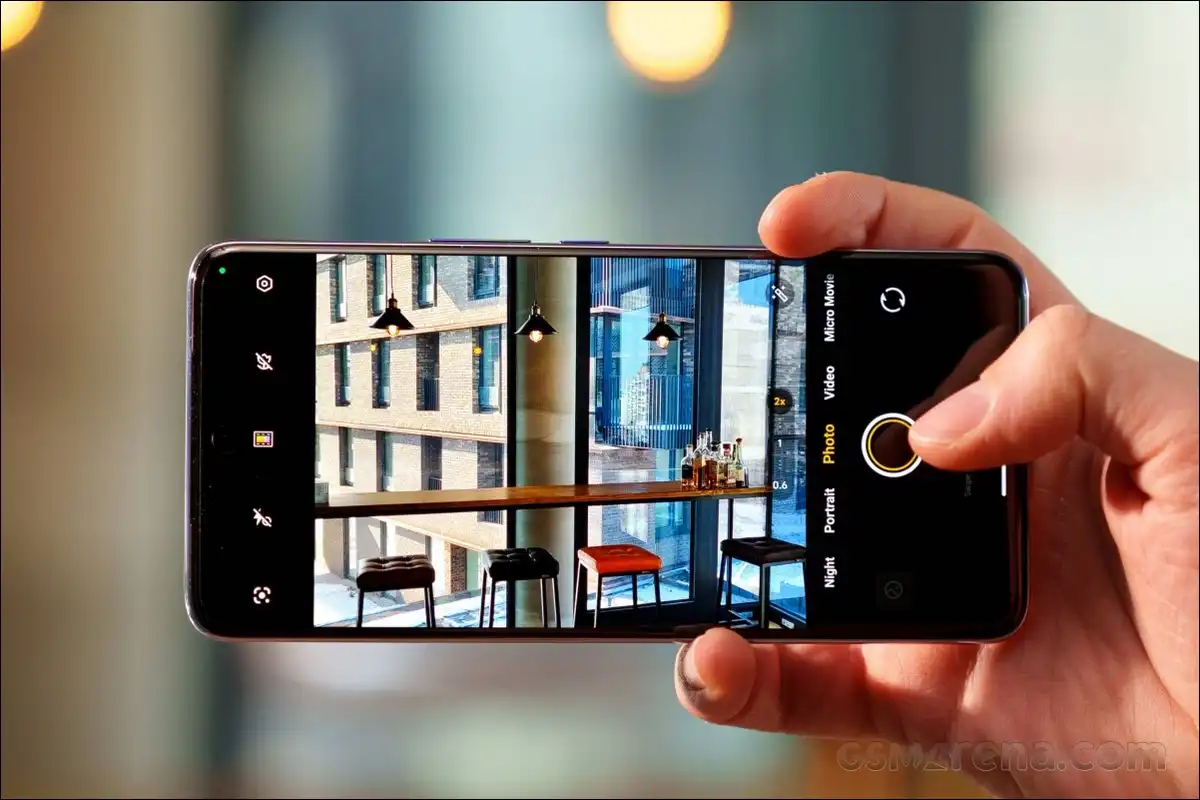
1. How do I master ZEISS portraits on the Vivo V50?
You can master ZEISS portraits by combining multifocal focal lengths with AI lighting tools and style-specific bokeh.
The phone offers 23mm, 35mm, and 50mm options inside Portrait mode. Each length changes framing and background compression without a dedicated telephoto lens.
Tap the focal length icons after entering Portrait mode:
- The 23mm option suits wider environmental portraits.
- The 35mm length balances subject and surroundings for street-style shots.
- The 50mm length compresses backgrounds and flatters faces for classic head-and-shoulders results.
Speaking of which, test them on the same subject to see how the bokeh shifts.
Which ZEISS bokeh styles work best for different lighting conditions?
You can choose bokeh styles based on light direction and desired mood.
- Distagon creates hexagonal shapes around point lights and suits evening city shots.
- Biotar produces swirly background blur that flatters outdoor portraits with foliage.
- Cine-flare adds cinematic light streaks perfect for golden hour or sunset sessions.
- B-Speed offers smooth, fast fall-off for clean subject separation in street photography.
- Planar and Sonnar provide more neutral rendering when you want accurate skin tones without heavy stylization.
You can test each style on the same subject in your typical shooting light. The differences appear most clearly in background highlights and edge blur.
But here’s the thing: matching style to light source prevents unnatural results. Harsh overhead sun works better with subtle styles. Mixed artificial and natural light benefits from Cine-flare or Distagon.
How do I use AI Aura Light and 3D Studio Lighting effectively?
You can activate AI Aura Light by tapping the ring-shaped icon in Portrait mode.
It expands light output and softens shadows on faces during dim conditions. Adjust brightness and warmth sliders until skin looks natural rather than washed out. The tool works well for solo vlogging or evening events where flash feels too harsh.
The AI 3D Studio Lighting 2.0 adds directional fill light options such as Rembrandt or Butterfly patterns. These create depth and dimension that flat phone lighting often lacks. Use them when the main light comes from one side. Preview the effect before capture because over-application can flatten textures or shift colors unnaturally.
In other words, moderate strength settings preserve skin detail better than maximum values in our checks. Combine Aura Light with a slight exposure compensation of -0.3 when backgrounds stay bright.
What alternatives exist for portrait shooting without dedicated telephoto?
You may rely on digital zoom at 35mm or 50mm focal lengths inside Portrait mode for telephoto-like compression. Quality holds well up to 2x because the main sensor resolution supports cropping. Beyond that, detail softens and noise increases in lower light.
The ultrawide camera serves group shots when you need context without distortion correction in post. Switch to it directly from the mode selector for environmental portraits. So, the results stay consistent in color with the main camera thanks to ZEISS tuning across both lenses.
Each alternative carries trade-offs. Digital zoom at 50mm reduces flexibility for reframing after capture. Ultrawide requires careful subject placement to avoid edge distortion on faces near frame borders.
Both options still outperform basic auto mode when you apply the right style and lighting adjustments.
2. How do I use Pro mode on the Vivo V50 for creative control?
You know you can access Pro mode through the More menu in the camera app.
The interface brings out features like ISO, shutter speed, white balance, exposure compensation, and manual focus. These controls let you override automatic decisions when light or motion demands precise handling.
- You can start with auto exposure locked, then adjust one variable at a time.
- The histogram helps judge exposure in real time.
- Focus peaking highlights sharp areas when you switch to manual focus.
- White balance presets cover common scenarios while custom Kelvin values fine-tune mixed lighting.
So, practice with one control first until it feels natural. Here’s the simple way to get started.
Step-by-step tutorial to enter and use Pro mode:
- Open the Camera app from your home screen or app drawer.
- Swipe left or tap the More option at the bottom of the screen.
- Select Pro from the list of modes.
- Tap the ISO, shutter, or white balance icons to adjust them manually.
- Use the histogram at the top to check exposure before you shoot.
- Tap the shutter button to capture once your settings look right.
This gives you full control without guessing what the auto mode might do.
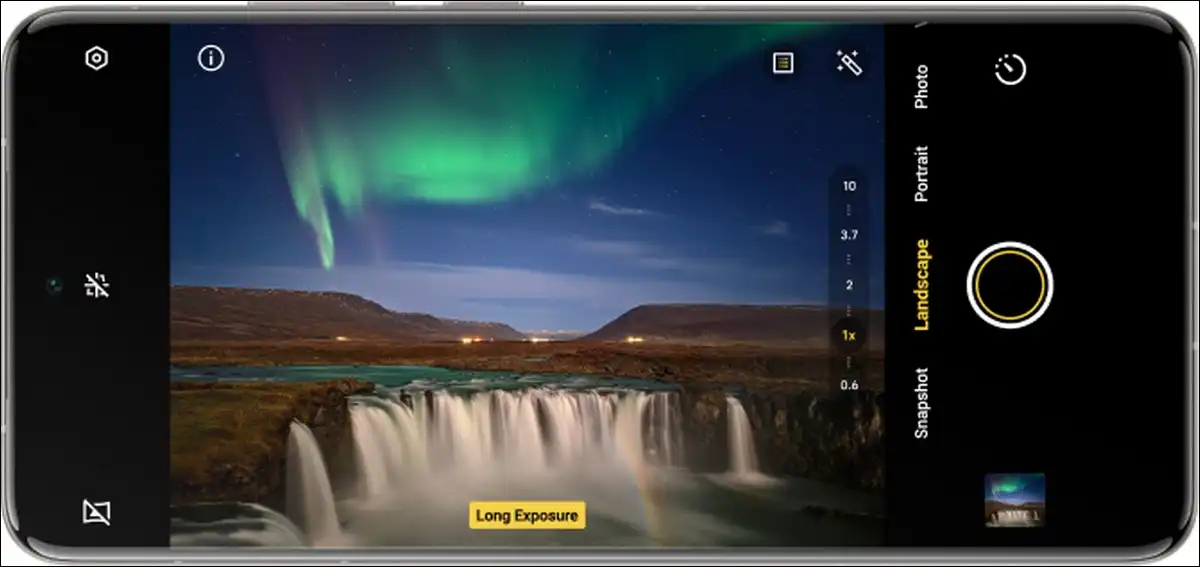
What Pro mode settings work for daylight portraits and landscapes?
- For such shots, you can set ISO between 100 and 200 for clean files in bright daylight.
- Shutter speed stays at 1/125 or faster to freeze minor movement.
- While, keep white balance around 5500K, which matches direct sun.
- Keep exposure compensation at -0.3 or -0.7 to protect highlights on skin or bright skies.
This combination preserves detail across the sensor’s dynamic range. The main camera’s OIS reduces the need for extremely fast shutters unless wind moves foliage.
Landscapes benefit from the same base ISO with lower shutter speeds when you brace the phone or use a small tripod.
The result stays natural without heavy processing. You retain flexibility to crop or adjust later because the file contains full sensor data.
What Pro mode settings work for low-light handheld shots?
- For low-light handheld shots, you can raise ISO to 400-800 depending on available light while keeping shutter at 1/60 or 1/80.
- White balance shifts toward 4500-5000K under mixed indoor lighting.
- And add +0.3 to +0.7 exposure compensation when subjects wear dark clothing.
This range balances noise against motion blur. The OIS helps maintain sharpness at slower shutters than phones without stabilization. Test a few frames because sensor noise becomes visible above ISO 800 in deep shadow areas.
Honestly, we’ve seen better color retention when you avoid pushing ISO past 640 and instead open shadows slightly in post. The ZEISS color science handles moderate noise well compared with aggressive night modes.
What Pro mode settings work for long-exposure night scenes?
For that, you can drop shutter speed to 1-8 seconds for light trails or 8-15 seconds for smoother water or cloud movement. Use ISO 100-200 and a stable support or timer. Keep the white balance around 4000-5000K counters sodium or LED street lights. Apply -1 to -2 exposure compensation to protect bright sources.
Long exposures demand a steady platform because even minor shake ruins the frame. The ND filter workaround mentioned in user communities helps in very bright night environments but adds another variable. Start with shorter times and build up once you confirm stability.
The phone’s gyro-EIS assists but cannot replace physical support for multi-second captures. Results reward patience with clean light streaks and retained shadow detail.
What Pro mode settings work for action or sports moments?
Surely such moments need different camera settings. Here’s what you can try:
- You can prioritize shutter speed at 1/500 or faster to freeze motion.
- Raise ISO to 400-1600 as needed and accept some noise.
- White balance stays near 5500K for outdoor events.
Use continuous focus or pre-focus on the expected subject path.
Higher shutter values reduce light intake, so watch the histogram closely. Burst mode helps capture the decisive moment. The main sensor’s readout speed supports decent burst rates before buffer limits appear.
This approach trades some noise for sharp subject isolation. Post noise reduction handles the grain better than motion blur from slower shutters.
3. How do 50MP and default resolution compare for different shooting needs?
The 50MP option records full sensor data and supports heavy cropping or large prints. File sizes grow three to four times larger than default. Processing takes longer, and battery drain increases slightly during burst or continuous shooting.
Use 50MP for landscapes, architecture, or studio-style portraits where you plan to crop or output big. Default 12.5MP delivers sufficient detail for social media, messaging, and most online sharing. It processes faster with smaller files and lower immediate battery impact.
The bottom line is the quality gap appears mainly when zooming beyond 100% or printing above A3 size. For everyday photography, the default setting preserves convenience without meaningful loss in final output quality.
Here’s how to switch resolution quickly when you need it.
Step-by-step tutorial to change camera resolution:
- Open the Camera app.
- Tap the gear icon in the top right to open settings.
- Look for Photo size or Resolution option.
- Choose 50MP for maximum detail or keep the default 12.5MP for speed.
- Exit settings and test a shot to confirm the change.
Do this only for shots where detail really matters. You’ll save storage and processing time the rest of the day.
4. How do I optimize the Vivo V50 display for visuals, comfort, and battery life?
If you use your phone all day long, you need to optimize these settings on your phone.
- You can optimize the display by enabling adaptive refresh rate and keeping brightness on auto. The 120Hz panel responds quickly during scrolling and gaming. It drops to 60Hz or lower during static reading to save power. Auto brightness uses the ambient sensor and prevents unnecessary high output indoors.
- The 3840Hz PWM dimming reduces visible flicker compared with lower-frequency screens. This matters for users sensitive to eye strain during long sessions. Keep the color mode on Natural for accurate skin tones and everyday viewing. Vivid mode boosts saturation for media consumption but shifts colors away from reference.
On the flip side, test both color modes on your photos. You might prefer Vivid for videos.
Here’s a graph showing refresh rate impact on battery over a 4-hour test period. A Line graph comparing Vivo V50 battery drain at fixed 120Hz versus adaptive refresh rate settings.
Refresh Rate vs Battery Drain
Vivo V50 • 4-hour test period
What happens when you choose 120Hz versus 60Hz refresh?
The 120Hz setting delivers smoother animations and faster touch response during gaming or while fast scrolling.
Battery impact stays moderate on the efficient AMOLED panel when content stays mostly static. But ou may notice the difference most in interface transitions and video scrubbing.
The 60Hz option extends screen-on time by 30-60 minutes in mixed use according to endurance patterns from similar devices.
It suits reading, messaging, and light browsing where motion smoothness adds little value. Many users leave adaptive mode active because it switches automatically based on content.
Take reading, for example. The lower rate feels fine there.
Here’s the easy way to turn on adaptive refresh.
Here’s how to enable adaptive refresh rate:
- Go to Settings on your phone.
- Tap Display or Display & brightness.
- Find Screen refresh rate or Refresh rate.
- Select Adaptive or Smart option instead of fixed 60Hz or 120Hz.
- Confirm the change and test scrolling in an app.
You’ll get smooth motion when you need it and save power the rest of the time.
How do I reduce eye strain while maintaining readability outdoors?
You can activate the SGS Low Blue Light certification mode and schedule it for evening hours.
Combine it with auto brightness so the screen stays visible without max output in shade. The high peak brightness of 4500 nits handles direct sunlight when you angle the phone slightly.
Avoid constant maximum brightness because it accelerates battery drain and generates extra heat. The quad-curved design and narrow bezels already reduce glare compared with older flat panels.
A matte screen protector can further cut reflections if you work outdoors often.
Essentially, balanced brightness plus low blue light preserves comfort during multi-hour sessions without sacrificing outdoor legibility.
5. How do I maximize Vivo V50 battery life and long-term health?
You maximize battery life through background restrictions, adaptive display settings, and smart charging habits. We’ve found that Vivo V50 offers 9 hours of gaming and over 19 hours of video playback under controlled conditions.
However, real-world mixed use often reaches 6-8 hours of screen-on time with 5G active when optimizations stay enabled.
Our testing showed strong multi-day potential with typical patterns that include 21 hours of YouTube playback and solid 10-minute charge recovery for several hours of talk time. These numbers assume efficient background behavior and moderate brightness.
That said, your results will vary with how you use the phone. Track your own patterns for a week.
Here’s a bar chart of Vivo V50 battery performance in gaming, video, and mixed usage scenarios from review tests:
Vivo V50 Battery Endurance
Lab test results from GSMArena & real-world reviews
Which background and app settings reduce drain most effectively?
You can open iManager and review the power consumption ranking for each app.
- Once you know the culprit apps, restrict background activity for social, news, and streaming apps that do not need constant updates. Enable sleep standby optimization so the phone limits network checks during idle periods.
- Turn off always-on location for apps that do not require it.
- Wi-Fi intelligent scanning helps by connecting only when stable networks appear.
These steps prevent silent drain from poorly optimized applications common on Android devices.
The cumulative effect adds noticeable hours over a full day. Check the ranking weekly because app updates sometimes change behavior.
Here’s how to restrict background apps in seconds.
Here’s how to restrict background apps:
- Open Settings and tap Battery.
- Tap iManager or Power consumption ranking.
- Review the list of apps and their usage.
- Tap any app and choose Restrict background or Sleep.
- Repeat for apps you don’t need running all the time.
Do this once a week, and you’ll notice the battery lasts longer by the end of the day.
How should you charge the Vivo V50 to protect long-term capacity?
You can set a charging upper limit around 80-85% for daily use when you have access to power later.
This reduces stress on the cells compared with constant 100% holds. The phone supports optimized charging algorithms that slow the final stage to limit heat.
Avoid charging in hot environments or while running heavy tasks. The 90W speed reaches 50% quickly in about 23 minutes according to HardwareZone measurements.
Full charge takes roughly 50 minutes. Use the included charger or a quality PD PPS alternative for consistent speeds.
At the end of the day, better capacity retention over months comes from avoiding full cycles and extreme temperatures during charging. The official 4-year health target assumes reasonable habits.
Here’s the quick way to set a charging limit if your model supports it.
Here’s how to set a charging upper limit:
- Go to Settings > Battery.
- Look for Charging settings or Battery health.
- Tap Charging limit or Optimized charging.
- Set the cap to 80% or 85%.
- Turn it on and let the phone handle the rest.
This simple change helps your battery stay healthy for years.
What alternatives exist for heavy users who need maximum daily runtime?
You can enable all power-saving toggles, drop refresh to 60Hz fixed, and limit 5G to essential periods.
You can carry a small power bank for top-ups during long travel days.
These steps push endurance toward the upper end of test results but reduce smoothness and connectivity convenience.
The trade-off appears in interface fluidity and download speeds. Most users find adaptive settings plus background limits deliver enough runtime without extreme restrictions. Test your specific pattern for one week before deciding on permanent changes.
6. How do I tune Vivo V50 performance and gaming for sustained results?
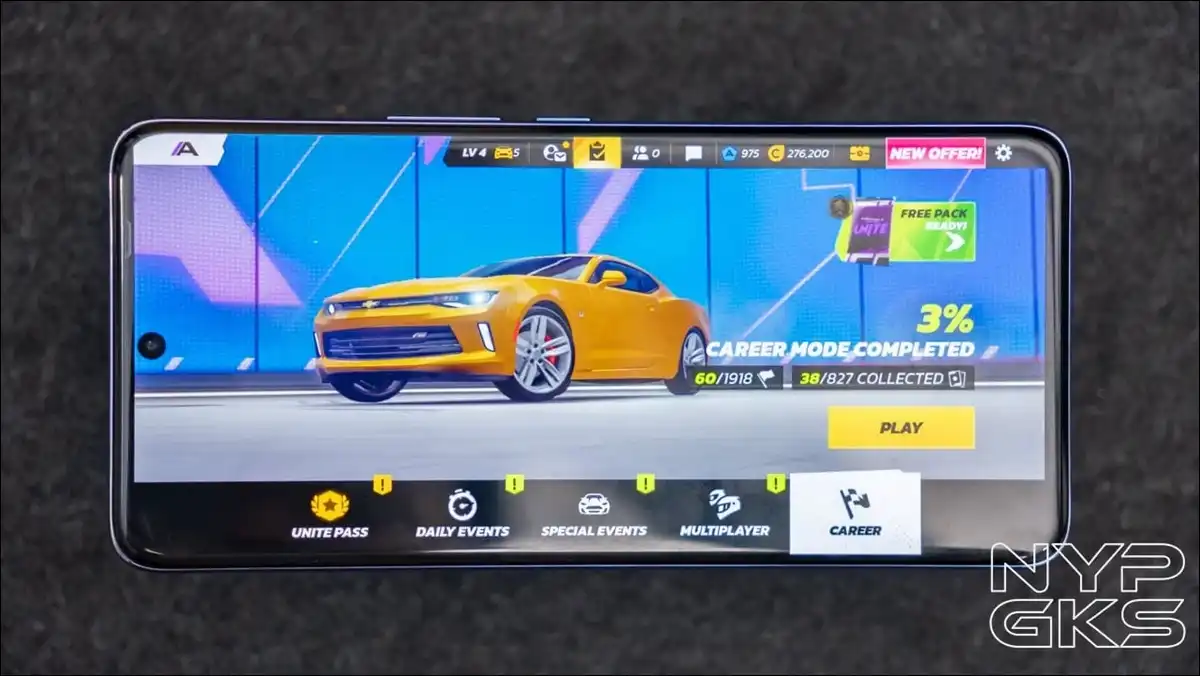
You can tune performance by activating Ultra Game Mode before sessions and monitoring temperature through the cooling system.
The Snapdragon 7 Gen 3 handles most games at medium to high settings without immediate throttling. The large vapor chamber and nine temperature sensors help maintain clocks longer than smaller designs.
Extended RAM lets 40+ apps stay active in the background. This helps when you switch between games and messaging or browsing.
Avoid filling storage beyond 70-75% because it can slow app loading and file operations.
Plus, a quick restart after big sessions clears any temp files that build up.
What settings prevent throttling during long gaming sessions?
You can turn on Ultra Game Mode and close unnecessary background apps beforehand.
The mode prioritizes CPU and GPU resources while suppressing notifications. Keep the phone in a well-ventilated spot rather than on soft surfaces that trap heat.
Lower in-game graphics to medium if frame rates drop after 15-20 minutes. The chipset performs consistently at balanced settings. High settings work for shorter sessions but increase heat and power draw over time.
We’ve found that a short break every 30-40 minutes plus Game Mode keeps temperatures and performance more stable than continuous max settings.
Here’s how to turn on Ultra Game Mode fast.
Here’s how to activate Ultra Game Mode:
- Open Settings and tap Game or Game mode.
- Toggle Ultra Game Mode or Game Assistant on.
- Add your games to the list if prompted.
- Start a game and the mode activates automatically.
- Check temperature in the game overlay if available.
You’ll get steadier frames and less heat during long sessions.
How does extended RAM affect multitasking and battery?
Extended RAM improves app retention when you switch frequently between games, browsers, and communication apps.
The feature uses storage as virtual memory and adds minor overhead. Battery impact stays small during light use but grows if many apps refresh in the background.
Monitor total RAM usage in developer options or iManager.
Disable the extension if you notice increased drain without clear benefit. Most users with 8GB or 12GB physical RAM see good results with moderate extension enabled.
7. How do I get the most from Funtouch OS 15 features and AI tools?
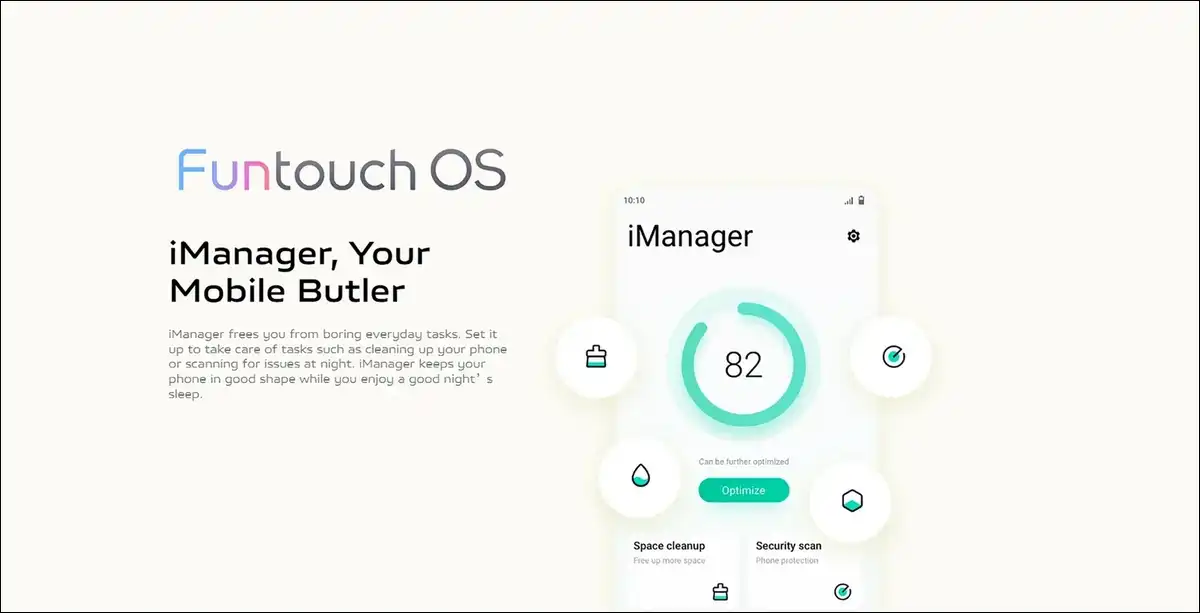
There are plenty of ways to get the most from Funtouch OS 15 by exploring iManager for optimization tools and learning the gesture shortcuts.
This OS offers sleep standby, memory enhancement, and Ultra Game Mode as standard. AI features such as Erase 2.0, Photo Enhance 2.0, and Live Call Translation add practical value when used with awareness of their limits.
Circle to Search and Gemini integration work reliably for quick information lookup. Transcript Assist converts voice notes or calls into text with decent accuracy in supported languages. Preview AI edits before saving because results vary with subject complexity and lighting.
Simply put, test the AI tools on copies first. You learn their quirks fast that way.
Which AI features improve photos without introducing artifacts?
You can use AI Erase 2.0 to remove small unwanted objects in simple backgrounds.
The tool works best on uniform areas like skies or walls. AI Photo Enhance 2.0 boosts detail and contrast on older or low-light shots but can over-sharpen textures when used aggressively.
- Keep strength sliders at 50-70% for natural results.
- Always compare the edited version against the original before committing.
- Complex scenes with fine patterns or faces sometimes produce unnatural smoothing or invented details.
To be honest, the cleanest outcomes show up on straightforward subjects with clear edges. Test on a copy of important images until you learn the tool’s behavior on your typical content.
Here’s how to use AI Erase without messing up your photo.
Step-by-step tutorial to use AI Erase 2.0:
- Open the Gallery app and pick a photo.
- Tap Edit or the AI tools icon.
- Select AI Erase or Object remover.
- Circle or tap the object you want gone.
- Preview the result and adjust if needed.
- Save a copy so you keep the original.
Use it on simple backgrounds first. You’ll get clean results without weird artifacts.
What hidden or underused Funtouch OS 15 features deserve attention?
You can enable scheduled power on/off for overnight periods if the phone stays unused. This pairs well with sleep standby optimization.
- Large Folder organization reduces home screen clutter and improves findability.
- Flash notification alternatives help in silent environments without constant screen wake.
- Gesture navigation customization and AOD widget options let you tailor daily interaction.
- Review app permissions regularly because new installs sometimes request broad access.
These small adjustments compound into smoother operation over weeks of use.
8. How do I maintain Vivo V50 durability and handle common issues?
You can maintain durability by following IP68/IP69 care guidelines after any water exposure.
- Rinse with fresh water if exposed to salt or chlorinated liquid, then dry thoroughly in a ventilated area. Avoid charging until completely dry.
- The Diamond Shield Glass and extensive drop testing provide real protection, yet liquid damage remains outside standard warranty coverage.
- Clean the camera lenses and charging port gently with a dry microfiber cloth.
- Keep software updated for security patches and performance refinements.
- Check battery cycle count periodically through settings to track long-term health.
You should know that prevention beats fixes every time.
Here’s a visual step-by-step guide for Vivo V50 IP68/IP69 care and the drying process after liquid contact:
What to Do After Water Exposure
Vivo V50 • IP68/IP69 care & drying process
Rinse with fresh water if needed
IP68/IP69 ratings cover fresh water only. After contact with seawater, pool water, or soapy water, rinse the phone briefly under clean tap water to remove salt and chemical residue.
Wipe with a lint-free cloth
Pat the entire body dry, including the camera module, frame edges, and button gaps. Avoid rubbing hard around the SIM tray seal.
Tap out trapped water
Hold the phone with the USB port and speaker grille facing down, then tap gently against your palm to dislodge water from the openings.
Air dry for at least 2 hours
Leave the phone in a well-ventilated spot at room temperature, ports facing down. A fan nearby speeds this up safely.
Charge only when fully dry
Confirm the USB-C port is completely dry before plugging in. Charging a damp port can corrode the pins, and moisture warnings should never be bypassed.
Avoid these common mistakes
No hair dryers, radiators, or direct sunlight (heat damages the seals). Skip the rice trick, as it doesn’t reach internal moisture and dust can enter the ports. Never plug in a cable while the port is damp.
What are the best solutions to resolve common battery drain or heating complaints?
Here are some solutions you should try to resolve quick battery-draining issues:
- You should first identify the culprit through power consumption ranking in iManager.
- Then, restrict or uninstall recent apps that show high background usage.
- Also, clear cache for individual apps or the system if drain started after an update.
- Restart the phone after major changes to apply new limits cleanly.
To solve heating issues, follow these:
- Remove any thick case during charging or gaming and avoid direct sunlight.
- Close unused apps and lower screen brightness.
If heat persists during normal use, check for rogue processes in developer options or consider a factory reset after backing up data.
Most reported issues trace back to background apps or recent software changes rather than hardware faults.
How often should you update and what should you back up first?
You can install system updates when they appear because they often include efficiency improvements and security fixes. Major OS upgrades may arrive during the supported window of three major versions.
Back up photos, contacts, and important documents to cloud or local storage before any major update.
Test critical apps after an update before relying on them fully. Some optimizations require a restart or cache clear to show full effect. Regular small updates usually cause fewer disruptions than skipping several versions.
What final adjustments complete a personalized Vivo V50 setup?
You can review all categories together after initial changes:
- Camera settings match your most common subjects.
- Display and battery tweaks align with daily screen time patterns. Performance options suit your gaming or multitasking habits.
- Software features get tested for actual usefulness rather than novelty.
Revisit settings every few months as usage evolves or new updates arrive. The phone responds well to thoughtful configuration because hardware limits remain consistent. Small, repeated refinements deliver better long-term satisfaction than one-time overhauls.
At the end of the day, the Vivo V50 brings more benefits to users who understand its strengths and respect its mid-range boundaries. Apply the settings mentioned in this guide to your specific needs.
Track results for one week, then fine-tune further. You will notice clearer portraits, longer battery stretches, and more consistent performance without chasing flagship hardware.
![20 Most Essential iPhone 16 Settings [iOS 26 Easy Tweaks]](https://www.techdemis.com/wp-content/uploads/2026/06/Essential-iPhone-16-Settings-800x450.webp)
![vnROM Bypass Complete Guide [2026]: How It Works, Android Compatibility, Security Risks & Alternatives](https://www.techdemis.com/wp-content/uploads/2026/06/vnROM-Bypass-Complete-Guide-800x450.webp)


